


A dead hedge is one of the simplest and most rewarding features you can add to a British garden. It is exactly what it sounds like: a stacked barrier of prunings, held together between stakes or posts. Unlike a living hedge, it is not trimmed into a neat shape. Instead, it is left to settle and slowly rot down, providing a rich habitat for wildlife whilst recycling your garden waste on site.
What Is a Dead Hedge?
At its heart, a dead hedge is a tidy way to deal with woody prunings. You drive a double row of sturdy wooden stakes into the ground, then fill the space between them with branches, twigs, and stems. The result is a rough, textured wall that can be any length or height you like. It is not a compost heap, so you do not need to turn it or worry about the mix of greens and browns. It is simply a slow, natural stack that breaks down over several years.
Because it is made from material already growing in your garden, a dead hedge costs nothing but a little time. It is also completely flexible. You can build a short one behind a border, or a long one along a boundary. It can be waist-high or taller than you. The only rule is to use woody prunings rather than soft, sappy growth, which can turn slimy.
A Home for Birds and Insects
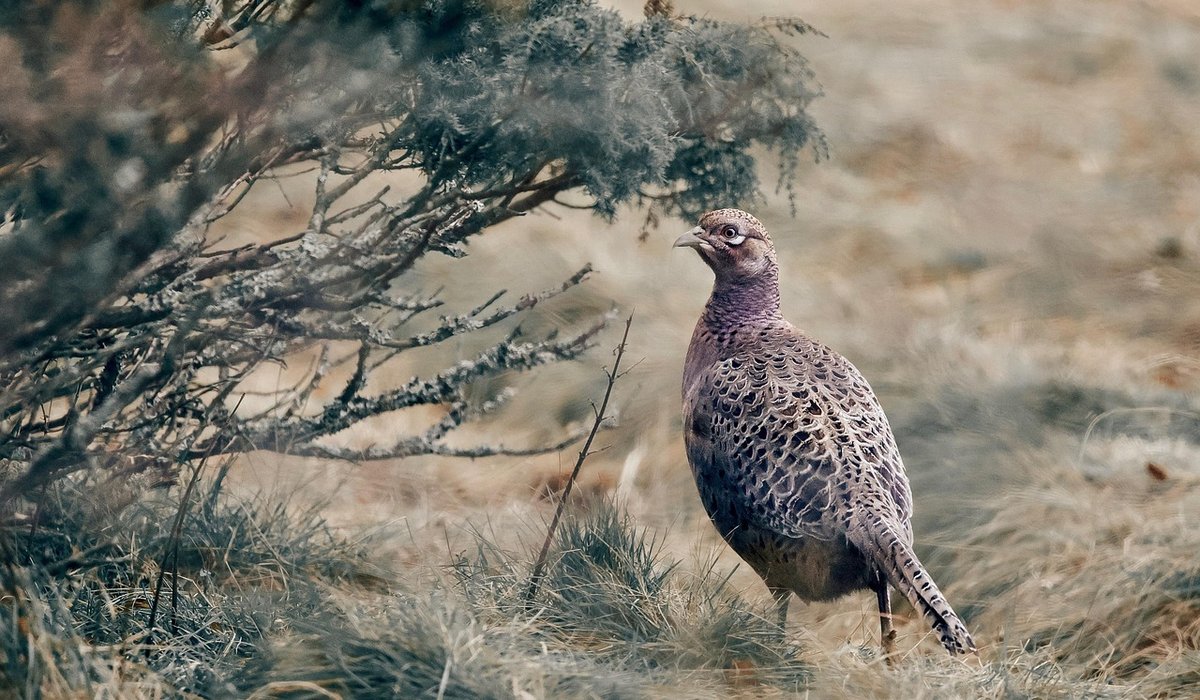
The wildlife benefits begin the moment you finish building. A dead hedge is a dense, sheltered structure, and that makes it valuable for a huge range of species. Birds such as wrens, dunnocks, robins, and blackbirds will investigate it within days. They use it for cover, for roosting, and often for nesting. A well-built dead hedge offers layers of twigs that are perfect for hiding a nest from cats and magpies.
Insects are just as grateful. Stag beetle larvae, solitary bees, and hoverflies will all make use of the decaying wood. Ladybirds and lacewings shelter in the gaps over winter. As the wood rots, it attracts fungi and invertebrates that feed on dead plant matter. These in turn become food for birds, hedgehogs, and shrews. In damp corners, a dead hedge can also provide refuge for frogs, toads, and slow worms. It is a miniature nature reserve, built from waste.
How to Build a Dead Hedge
Building a dead hedge is straightforward. You will need a few basic tools: a mallet, some sturdy stakes (roundwood or square posts are ideal), and a pair of secateurs or loppers. Follow these steps:
- Drive two parallel rows of stakes into the ground. Space the rows about 60–90 cm apart, and the stakes within each row about 60 cm apart.
- Fill the gap between the rows with your prunings. Start with thicker branches at the bottom, then add thinner twigs on top.
- Alternate the direction of the stems so they interlock. This makes the hedge more stable and creates plenty of little gaps for wildlife.
- Push the material down as you go, but do not compact it too tightly. You want a loose, airy structure.
- Leave the top slightly uneven. A flat top is fine, but a rough finish looks more natural and holds more moisture.
Avoid using diseased wood, such as branches from a tree with honey fungus, and never add ivy or roots of invasive plants like bamboo or Japanese knotweed. These can regrow and cause problems. Also, avoid any prunings that have been treated with pesticides or herbicides.
Siting Your Dead Hedge
Where you put your dead hedge matters. For birds and insects, a sunny spot is fine, but for amphibians and reptiles, a mix of sun and shade is better. A position along a boundary or behind a shed is ideal. It can act as a windbreak, protecting delicate plants, and it can screen a compost heap or bin store.
Think of it as a wildlife corridor. If you have neighbours with hedges or trees, a dead hedge can link up these habitats, allowing creatures to move safely through the garden. In small gardens, a short dead hedge in a shady corner will still be valuable. Just make sure you can access it for annual top-ups, and that it does not block a path or a drain.
Maintenance and Long-Term Value
A dead hedge is not a static feature. It will settle and shrink over time as the material rots. Once a year, usually in late winter or early spring, top it up with fresh prunings. This is a good moment to check the stakes and replace any that have rotted.
After five to ten years, depending on the wood you used, the bottom of the hedge will have turned into a rich, crumbly compost. At that point, you can dismantle it, spread the compost on your borders, and rebuild the hedge with new stakes and fresh prunings. This cycle is slow, but it is exactly what happens in a natural woodland. You are simply speeding it up a little.
Do not be tempted to turn it or water it. A dead hedge is not a compost bin. It should be left alone to do its work. The only regular job is to add more material.
Why It Beats Burning or Shredding
Many gardeners burn their prunings or feed them through a shredder. Both have drawbacks. Burning releases carbon into the atmosphere and destroys the habitat value of the wood in minutes. Shredding is noisy, uses fuel, and produces a mulch that, whilst useful, offers little structure for wildlife.
A dead hedge, by contrast, keeps all that carbon and nutrients on site. It creates a home for countless creatures. It saves you trips to the tip. And it costs nothing. For British gardeners who want to do their bit for wildlife, it is one of the easiest wins available. So next time you pick up your secateurs, think before you burn. Stack it, stake it, and watch the birds move in.


Leave a reply